DIY Wedding Mirror Seating Chart
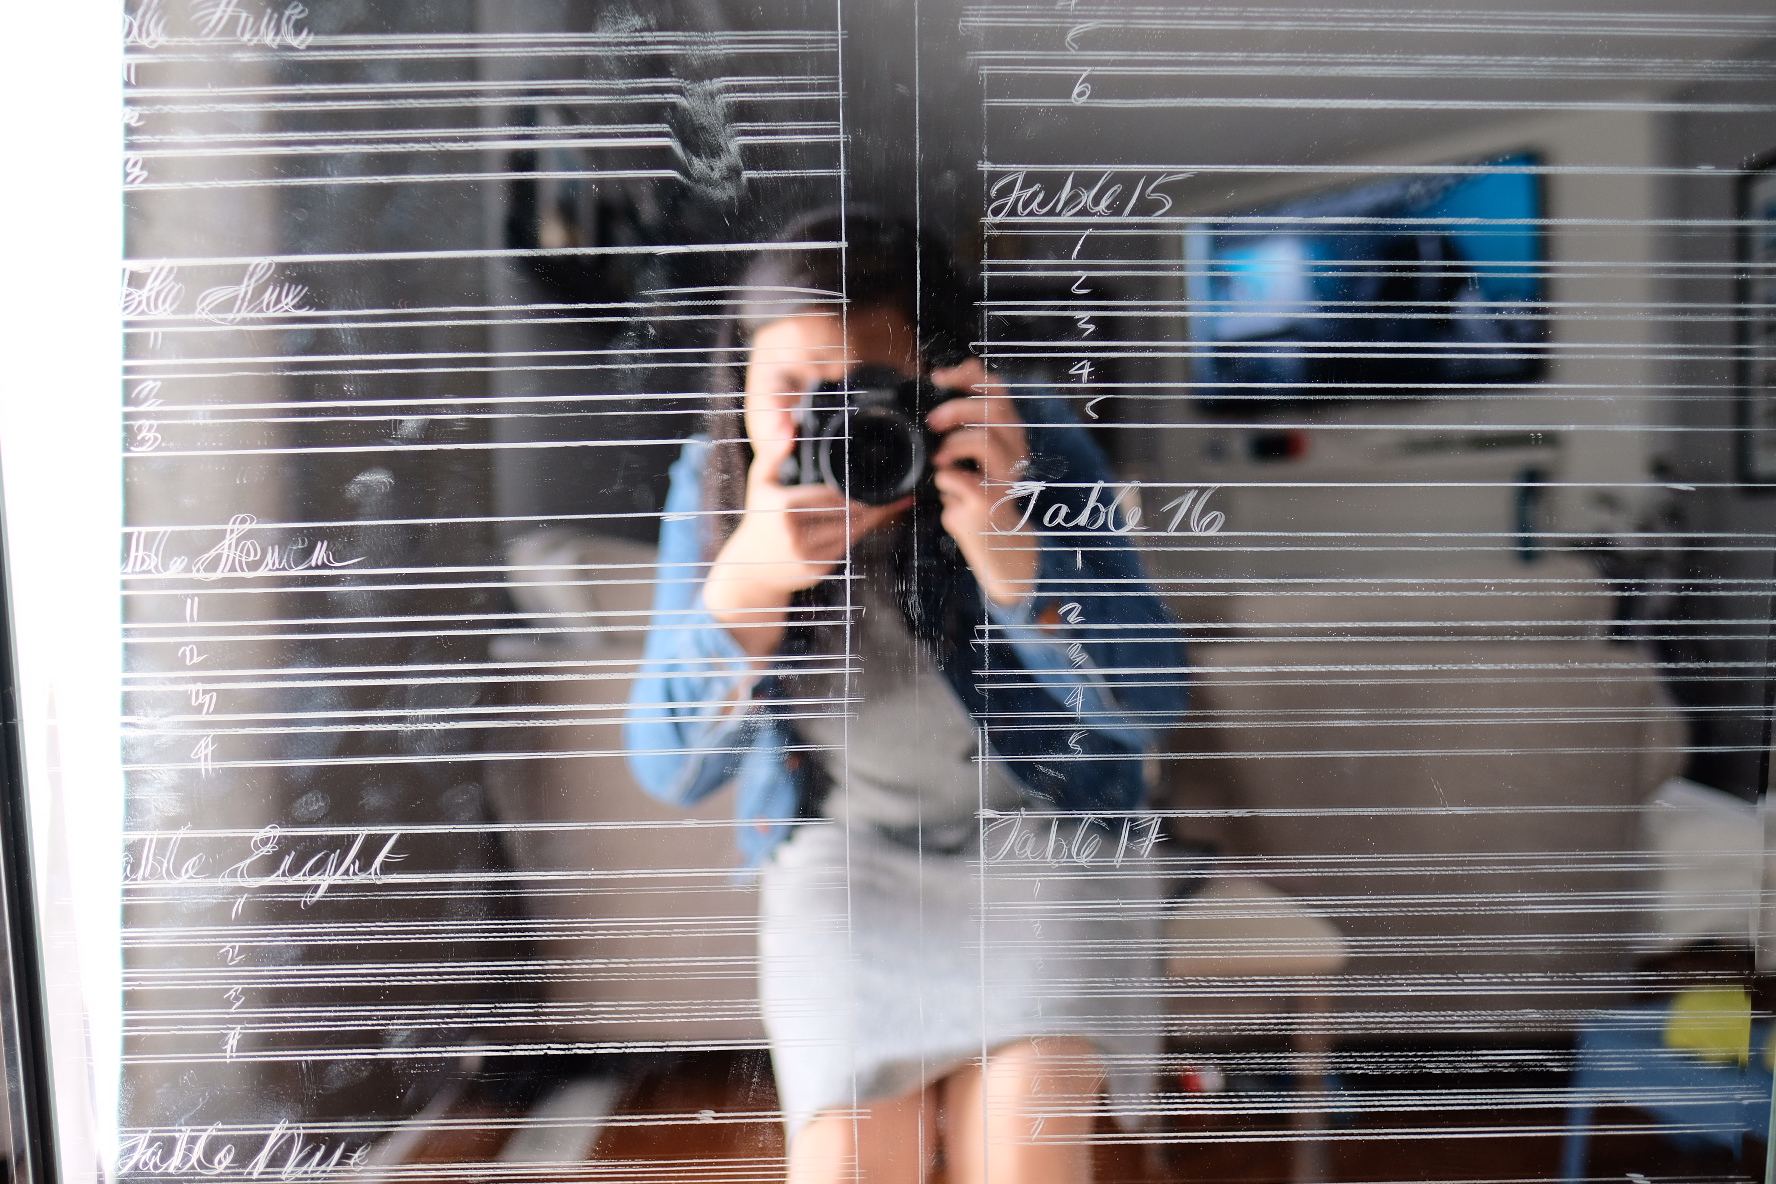
Client’s Mirror Seating Chart at Edwards Garden
Mirror seating charts are a hot commodity nowadays, and they are quickly becoming the most popular service that I offer to my clients. Mirror seating charts offer a luxurious, timeless look for any wedding reception. Even my partner is infatuated by them once I apply my finishing touches.
I have been wanting to do this blog for a while. The wedding season is picking up quickly and I hope this post inspires/teaches other calligraphers, DIY-ers, and brides/grooms-to-be to complete a mirror seating chart. In this post, I will go through the steps on how to successfully tackle a mirror seating chart. So, let’s begin!
Tools
• Stabilo Aquarellable & a sharpner: This is a water-soluble pencil and it can write on almost all of the surfaces you can think of (glass, acrylic, wood, etc.). I use this pencil to draw my guidelines and do my rough sketches on the mirror.
• Sharpie Oil Based Markers - Medium Tip: This oil based pen is my favourite. This pen comes in different tip sizes, but my go-to is medium tip. I find these ones are more durable than the finer tip pens. Always ink with the oil based marker. Since it is an oil based paint pen, it does not wash off with water and is more resilient to scratches and smudges. A lot of people that asked for my two cents regarding the Sharpie’s water based paint marker. My advice: don’t use this marker for mirrors. The ink comes off when you try to wipe the guidelines, and it break hearts.
• Wescott’s Graph Beveled Transparent Ruler: I HIGHLY recommend Westcott’s Graph Beveled Transparent Rulers. Here are the PROs for these rulers:
Flexibility: It’s probably its best property. It bends around the corners of the mirror, allowing you to draw guidelines in every nook and cranny of a mirror that a rigid ruler would not reach. This feature is truly beneficial when you are dealing with circular or any irregular shaped mirrors.
It’s Transparent: This feature will allow you to see where you are drawing your guidelines and, most importantly, to see if you are drawing them straight. In addition, with simple geometry skills, the gridlines on the ruler can be used to ensure every guideline is straight (parallel) and it can also help you draw straight perpendicular lines.
• Rubbing Alcohol & Cloth: We all make mistakes. Rubbing alcohol is great for removing the oil-based ink. It’s almost like magic, as ink just melts away!

Seating Chart Layout & Tools
The Juicy Part: The How-To
I have split the procedure into 4 main steps:
• Consultation
• Planning the Layout
• Guidelines
• Inking
Without further ado, let’s begin!
Consultation (Approx. 30 minutes)
Ensuring that clients’ visions come true is important, and the only way to achieve this is by meeting face-to-face with your sketch pad in hand and with a set of open ears. I usually bring a typical checklist with me at the consultation meeting to quickly take note of what clients want on their mirrors. Also, don’t be afraid to make suggestions that will make the mirror seating chart clean and legible without sacrificing the client’s vision. You are the expert and sometimes you may see things that the clients do not see. So speak up!
Layout Planning (Approx. 30-60 minutes)
This step is super critical. Different calligraphers have different processes when it comes to this step, but, generally speaking, this step usually consists of A LOT of math, measuring, scaling, and trial and error to fit the guest list within a restrained space. It is the definition of labour of love for real!
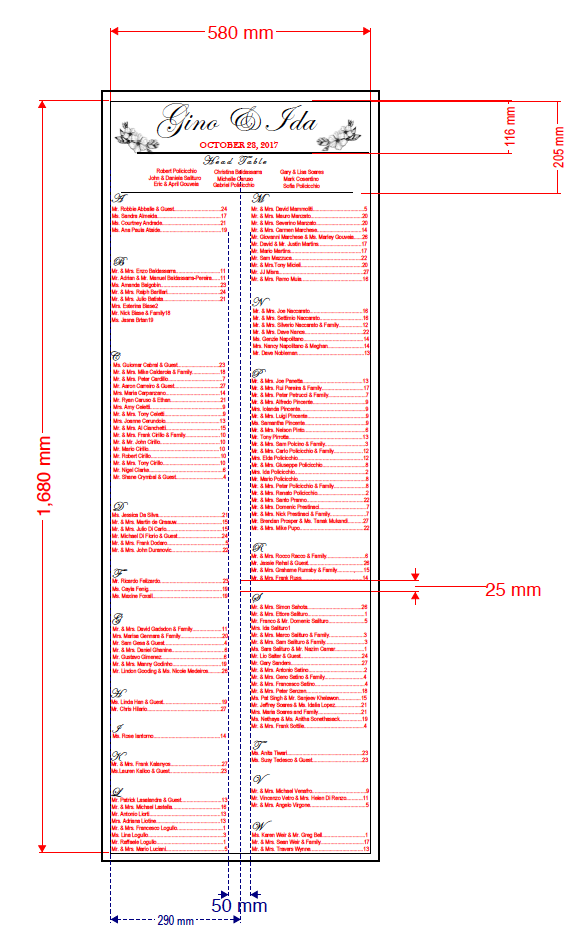
I’ll let you in on my secret tool – a program called Bluebeam Revu. I do all of my planning with this program. It allows me to do almost 0% math, and, most importantly, it cuts my trial and error process by almost 90%. I don’t know where I pulled those percentages from, but I guess what I'm trying to say is that using Blubeam significantly cuts down the time spent on the planning process. I’ll give you an example to highlight how powerful this tool is: last year, one of my clients was trying to pick out a mirror at a store. They sent me the dimensions of their preferred mirror; however, after using Bluebeam Revu to quickly sketch out the dimensions of the mirror and copy/ pasting their guest list into the sketched mirror, I had to advise the couple that the size of the mirror would not allow enough space for their guest list. All this was done under a half hour.
Just a little background about this software so you don’t get terrified by images of people in hardhats on the Bluebeam homepage. It is a professional PDF viewer that allows you to markup and scale engineering or architectural type drawings. It is similar to AutoCAD (a drafting program), but with a much more user-friendly interface and lower learning curve. So, before you turn a blind eye or go back to doing math, I would say give Bluebeam a try. It is a lifesaver.
During the layout planning process, the first bit of information you want to get from your client is the inner dimensions of the mirror. This information allows me to map out everything to the millimetre so that I can present something accurate to my clients during the consultation stage. Here are some other key pieces of information you and your client should discuss during the layout planning stage:
Header & date space
Overall layout & look of the placement of the tables/ guests’ names
Letter height of:
Guests’ names
Table headers
Spacing between guests’ names
Spacing between tables
Once my client visually sees these components on paper, it allows them to see a clear mock design. It is also a direct guideline for me to ink the mirror later. It’s a win-win scenario for both parties.
Here are some photos of my Bluebeam Layouts side by side with the finished product so you can see how the layout is very similar to the final product. It really highlights how powerful this software is. Trust me, give it a go before saying no.

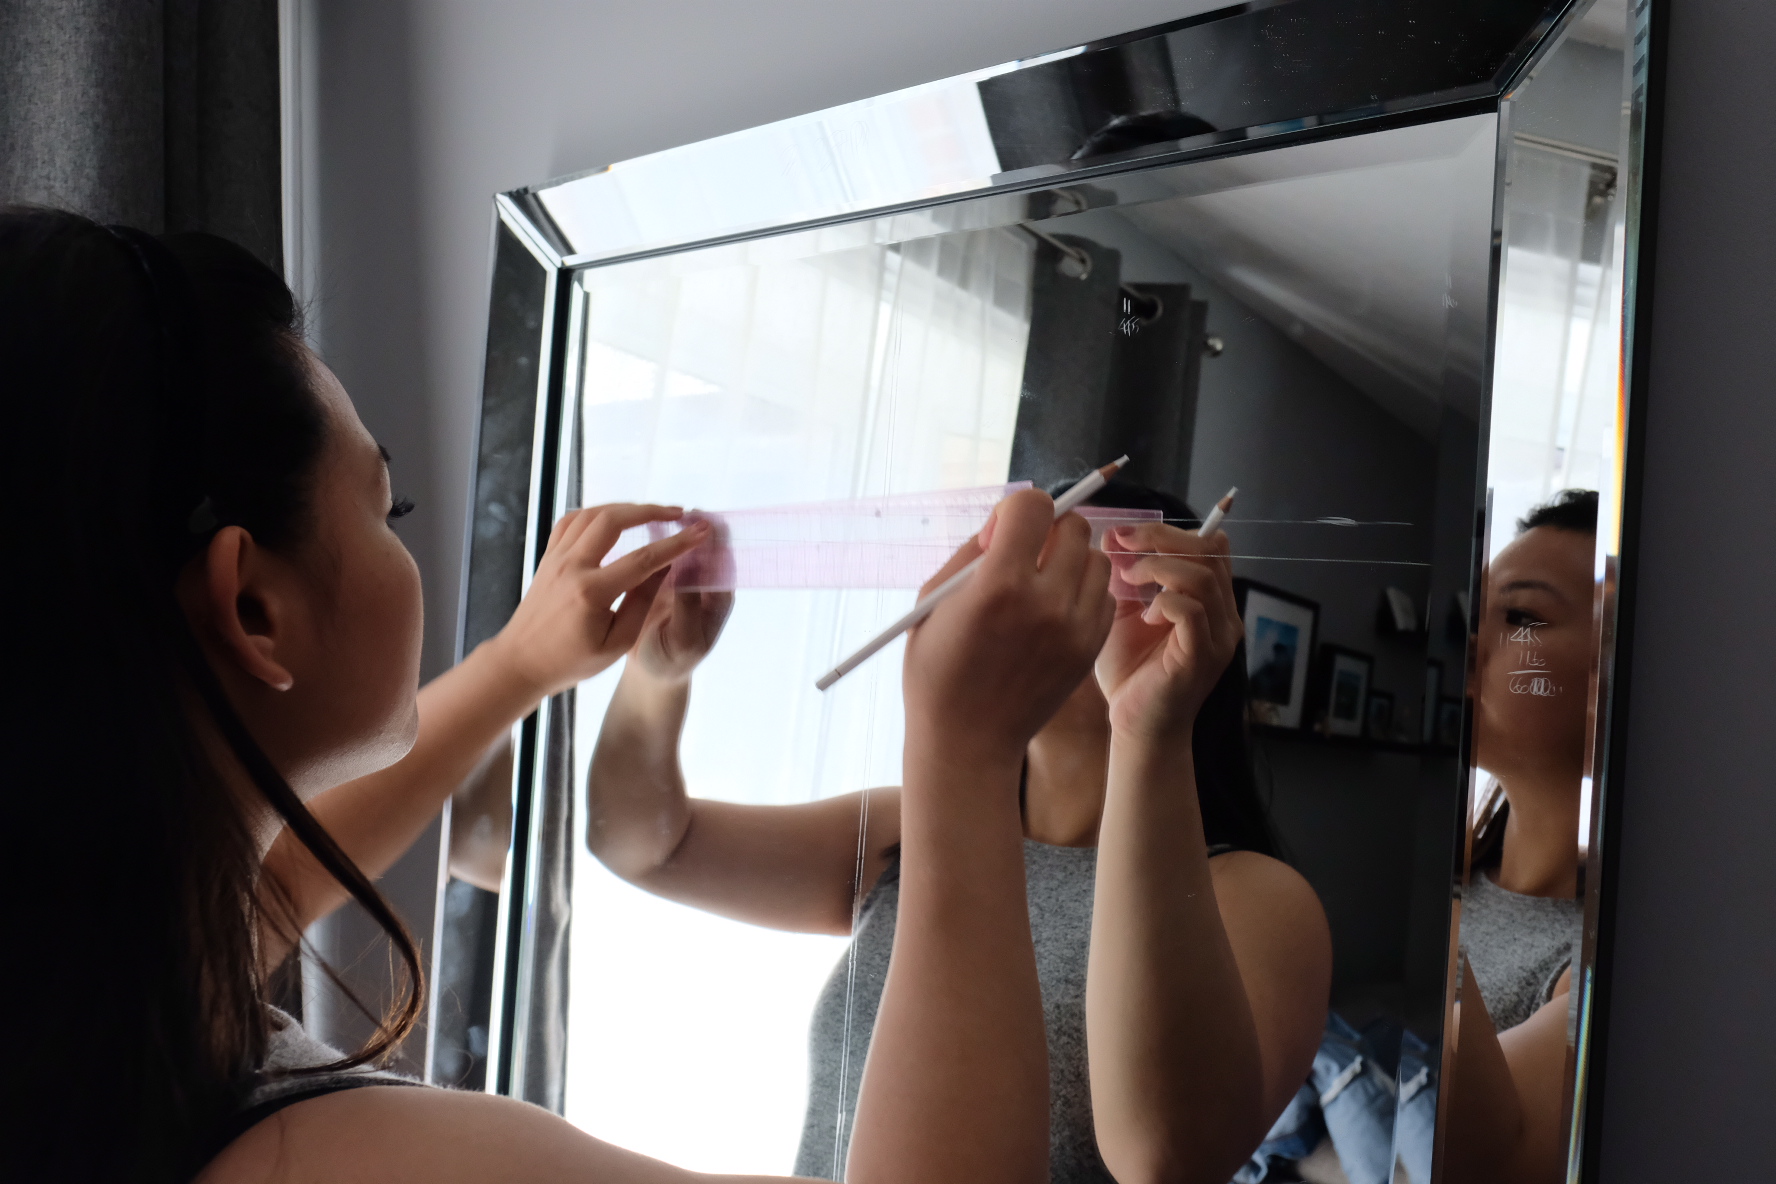
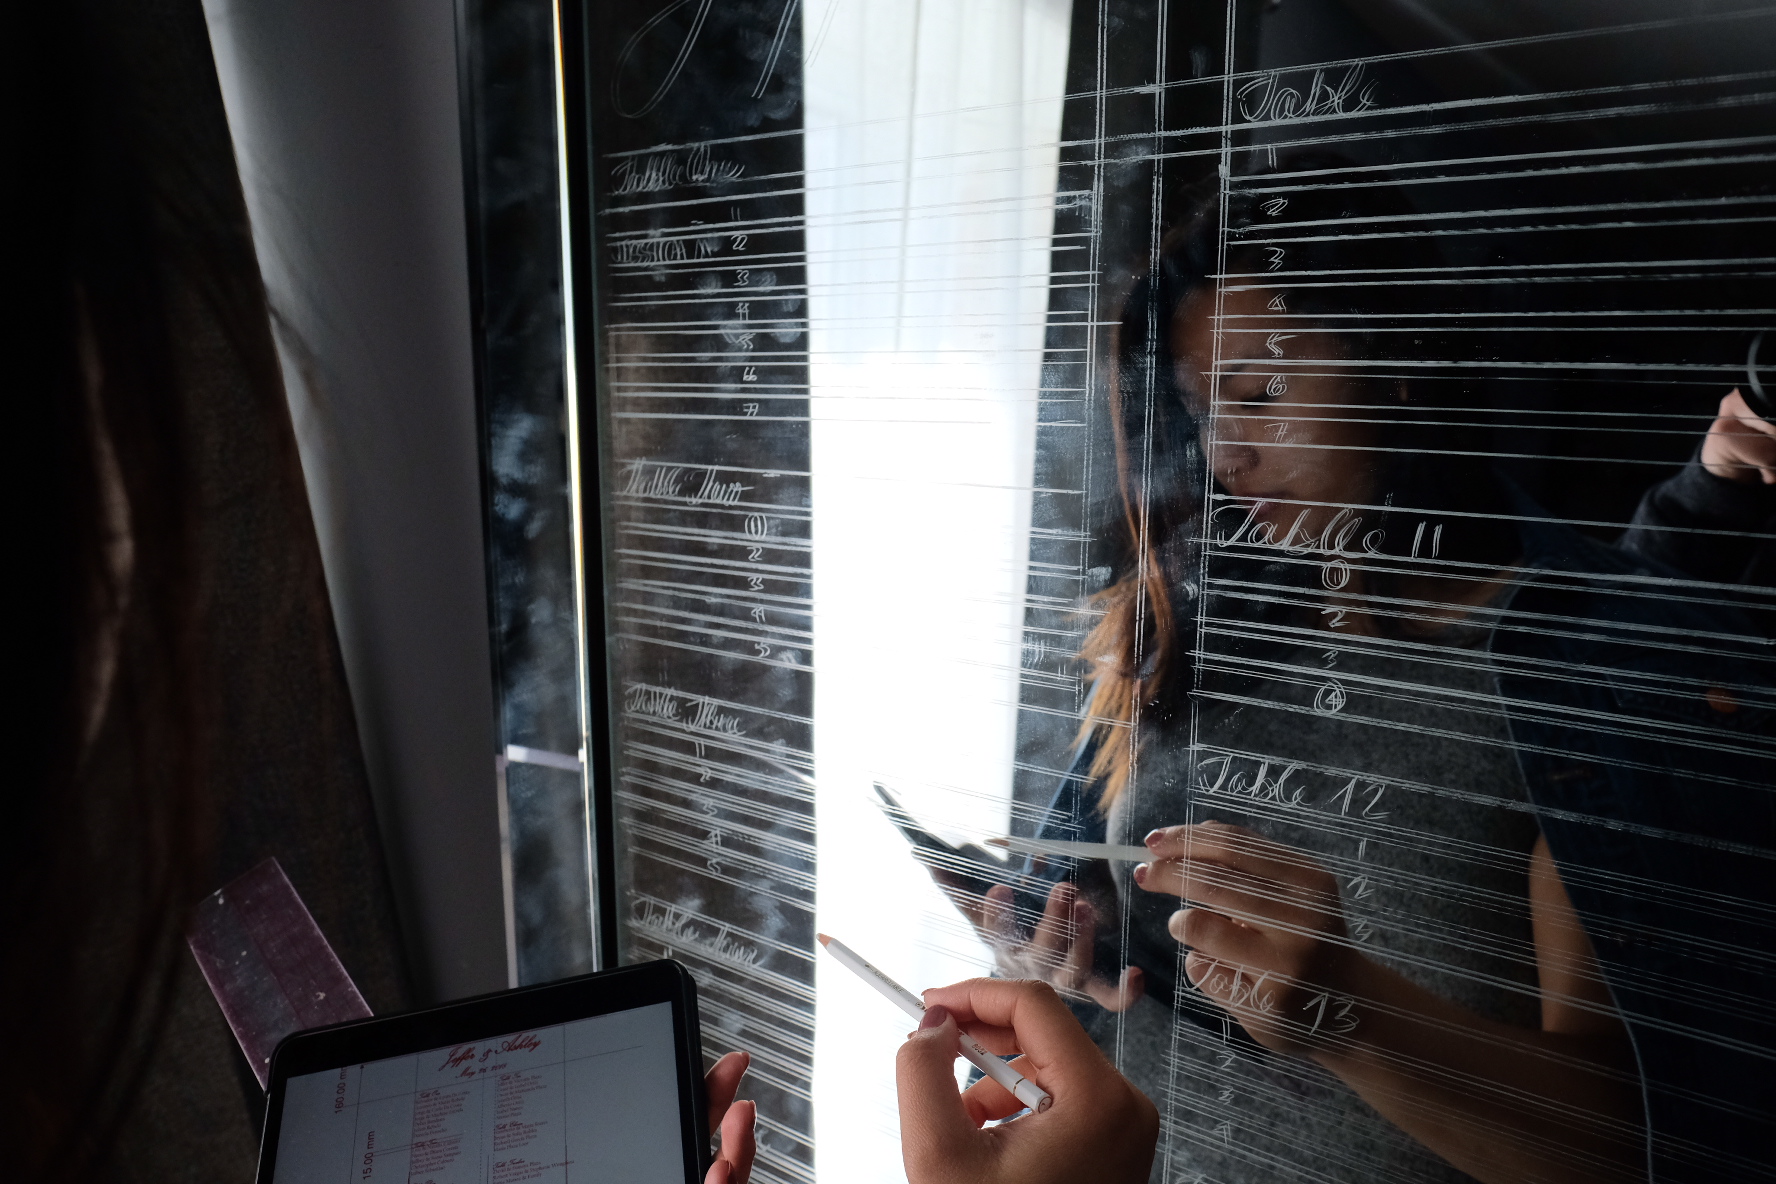
Guidelines (Approx. 60 minutes)
I use Stabilo Aquarellable white pencil and my Westcott’s Graph Beveled Transparent Rulers to draw my guidelines. Here are the guidelines that I usually mark on my mirror:
• Vertical (y-axes) line straight down the middle of the mirror
• Main header
• Table heads
• Guest names
• Spacing
There are no shortcuts when it come to this step. It’s all labour of love!

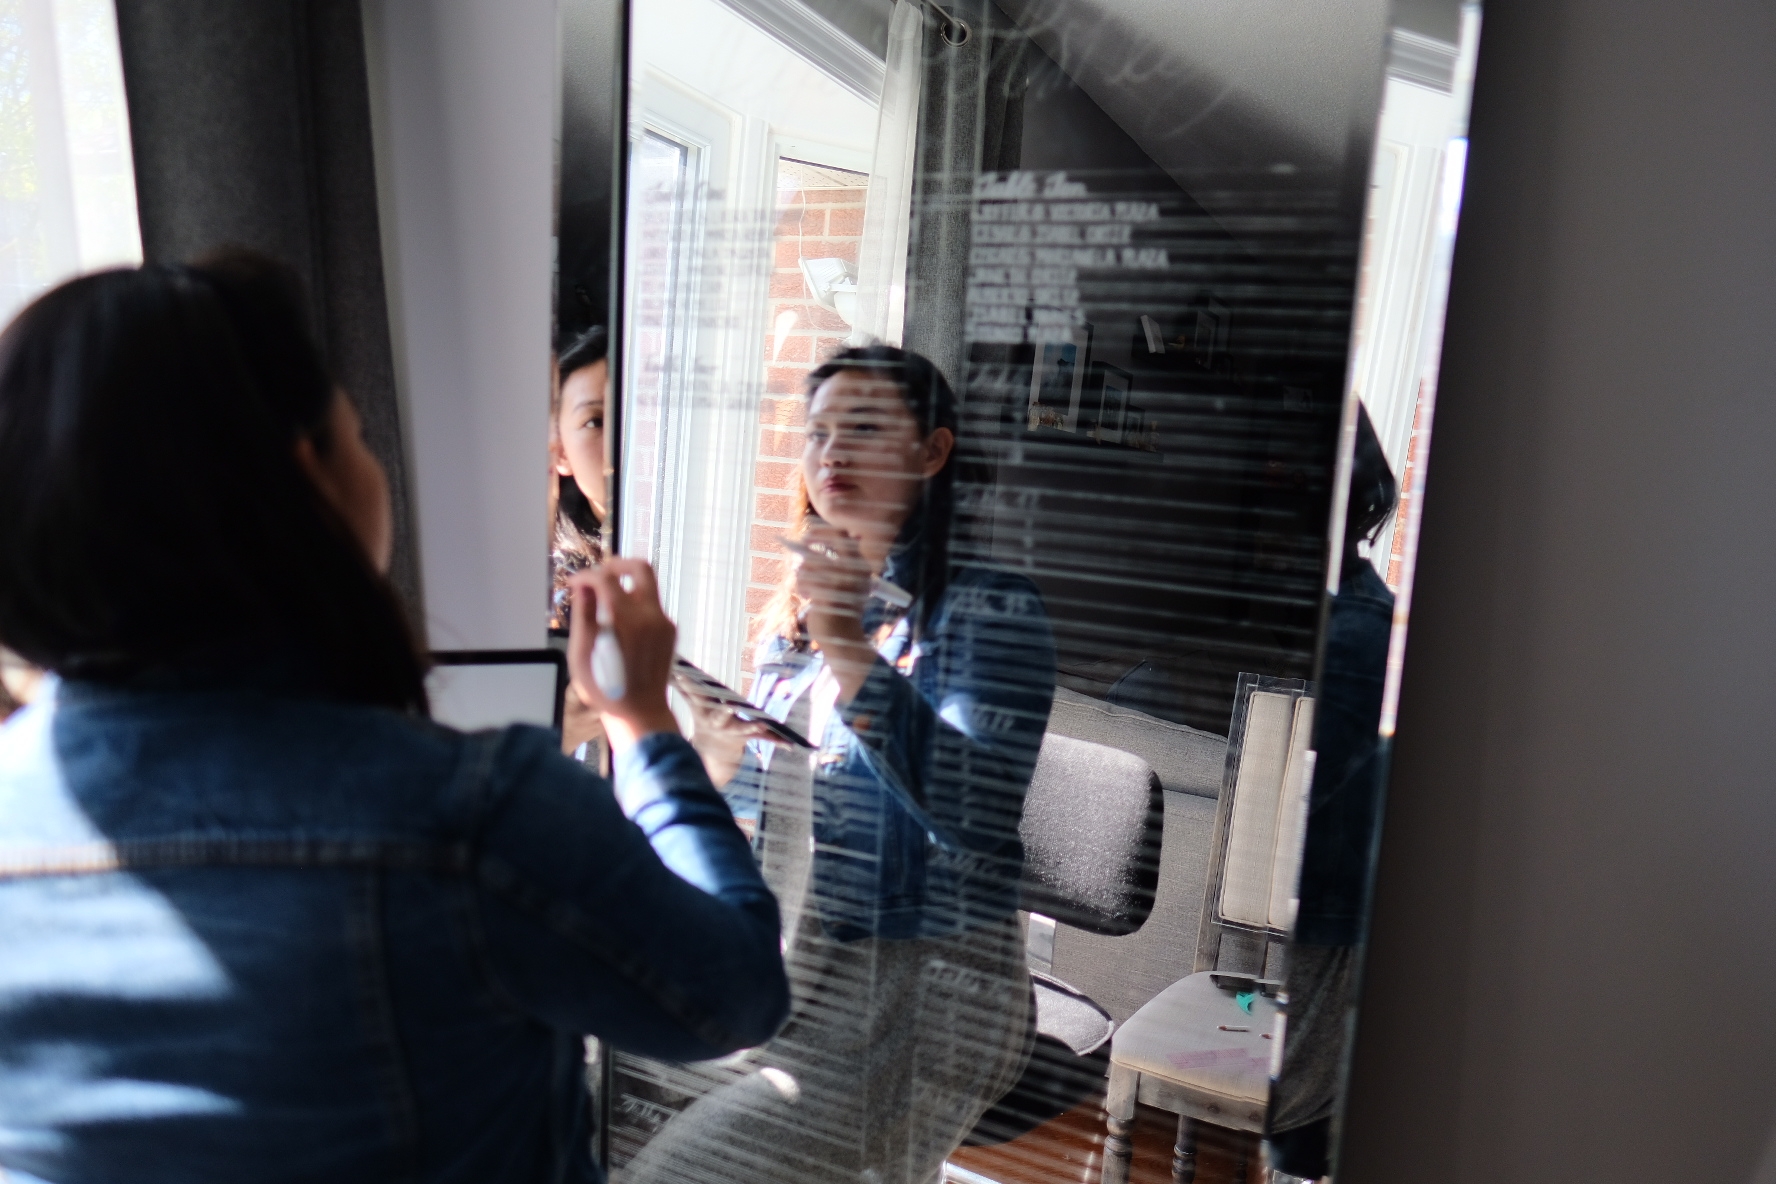
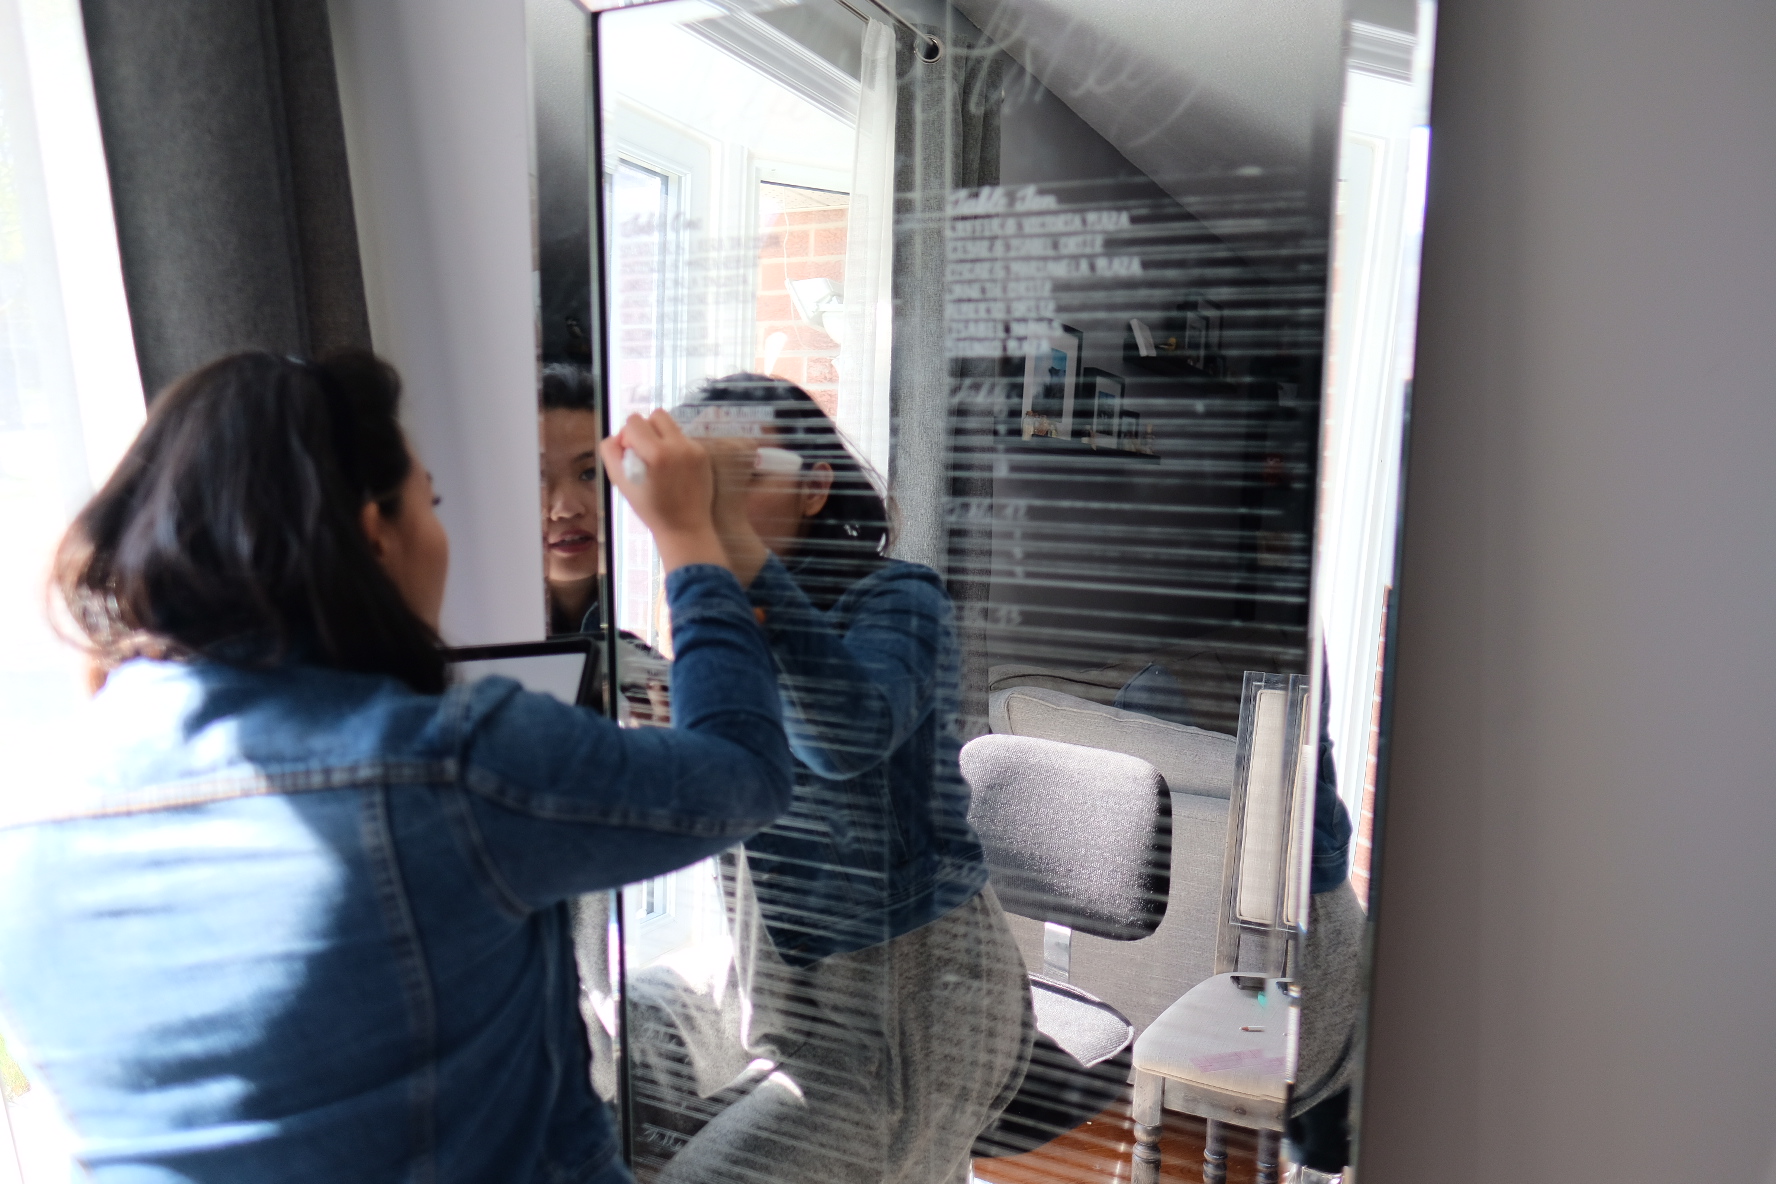
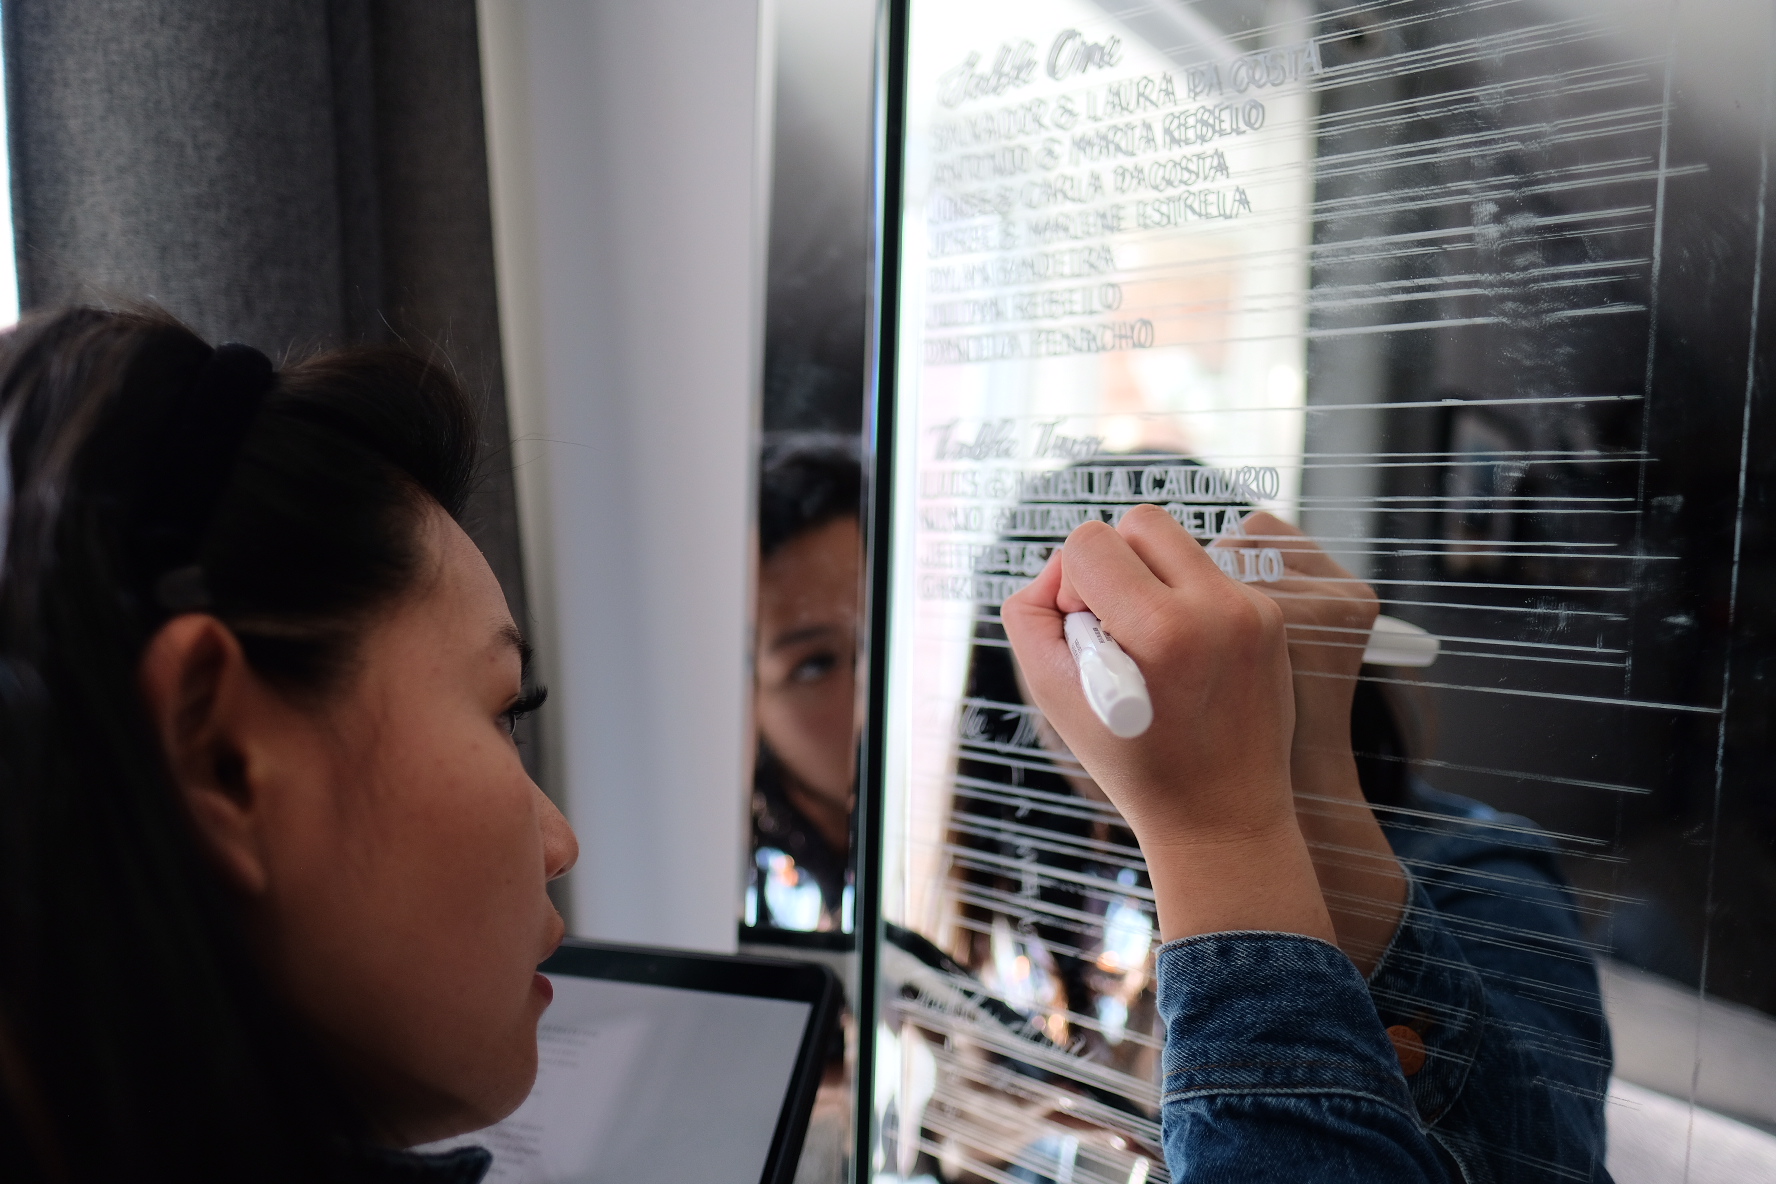
Inking (Approx. 30 minutes)
The most rewarding and fun part of completing mirror seating charts, is inking the mirror! The guidelines drawn in the previous step makes inking the mirror really easy.
Bonus Step: Cleaning & Spell Check (Approx. 45 minutes)
After inking the mirror, I would advise to leave the mirror for a good half hour to let the ink set and dry. I find that the ink is more durable when it is left alone for this duration. I am not the most patient person in the world, and this wait can be dreadful. I JUST WANT TO SEE THE FINAL PRODUCT!! But, good end results come when you wait.
After about 30 minutes, go ahead and grab a damp cloth and just wipe all of the guidelines from the mirror. It IS the most satisfying thing to do. You start to see your masterpiece as the pencil marks fade away and it is so rewarding.
Last but not least, check the spelling. My worst nightmare is when spelling is not on point when it is time to hand it off to a client. So, save yourself that headache and take the time to spell check all of the guest names. I usually spell check it twice and ask someone else to do a final check for me. Two pairs of eyes is always better than one. So, ask your partner, neighbour, co-worker, sister/brother, WHOEVER, to do a final spellcheck.
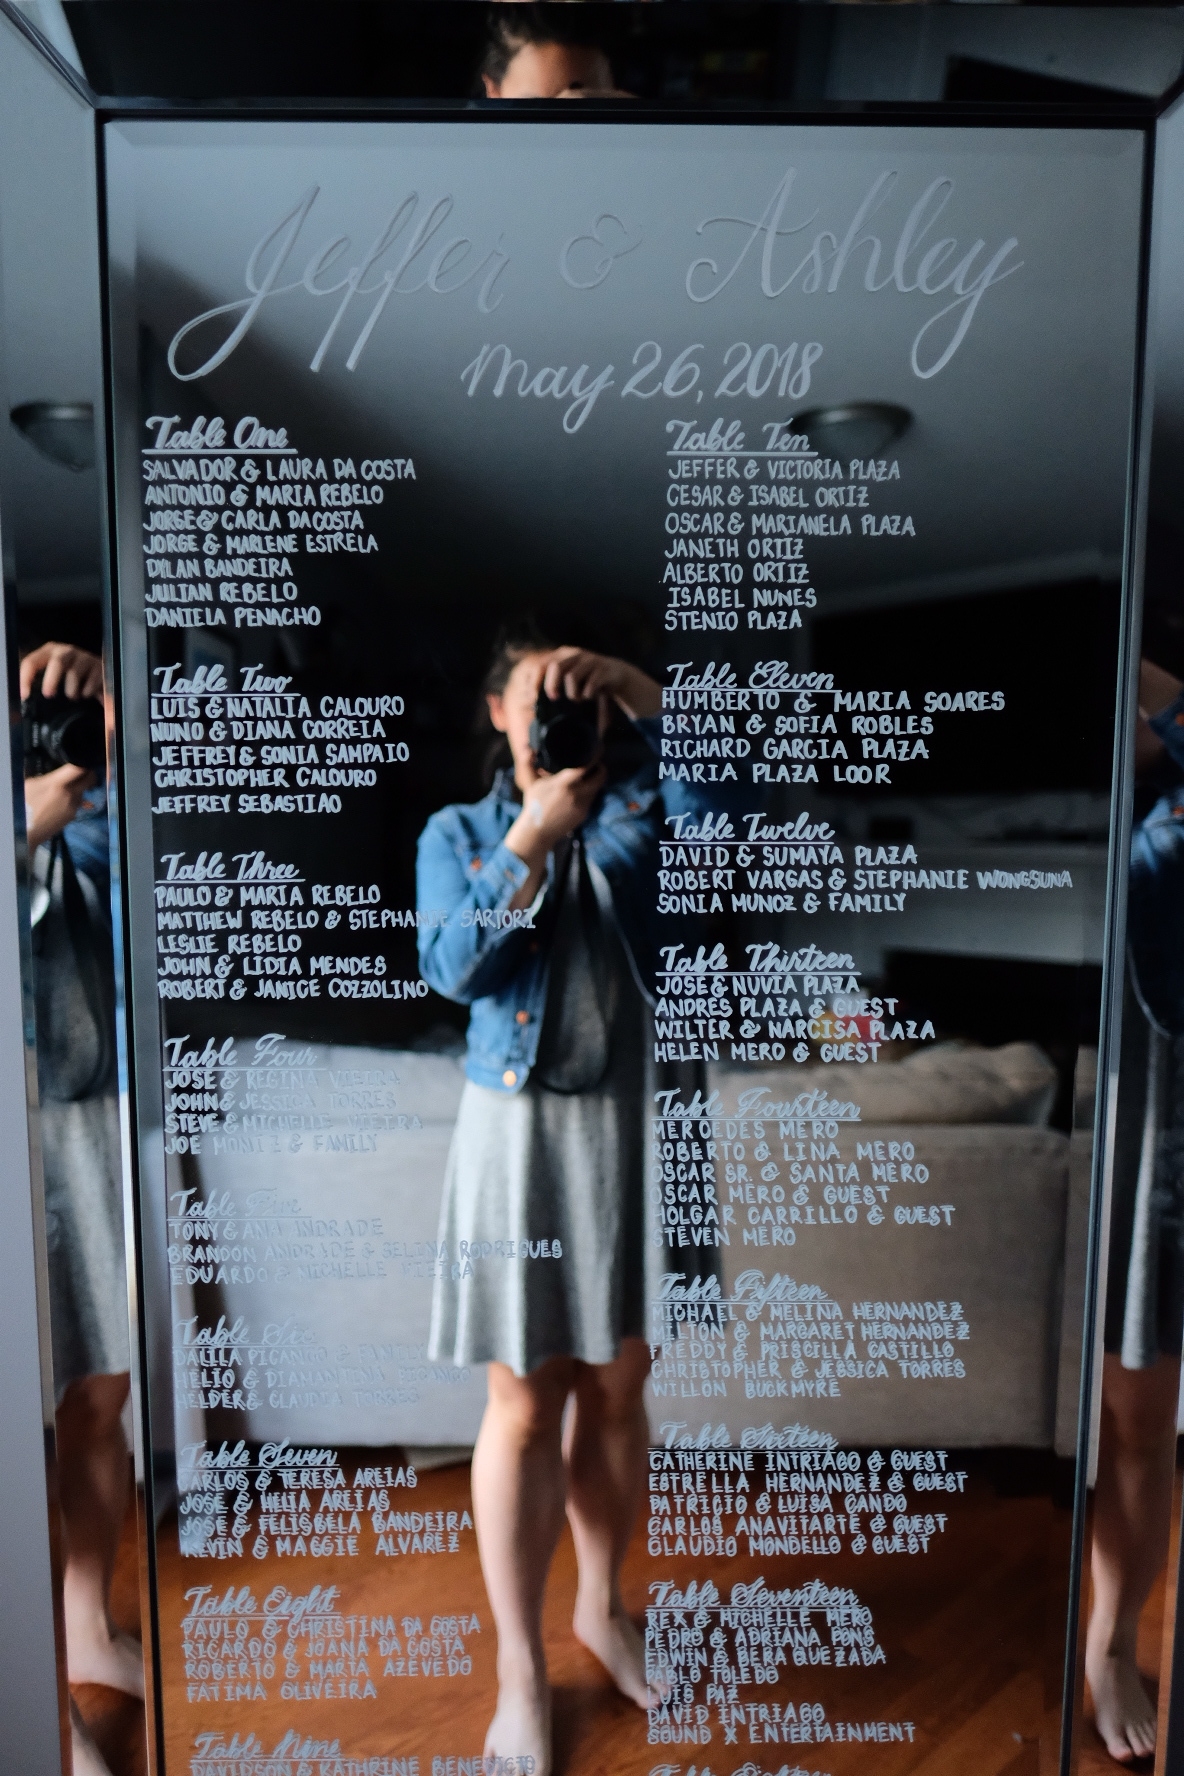
The Final Product
Final Remarks
If you have read this far, congratulations and thank you! I just want to wrap this up with some final remarks. As you can see for each step, I included how long each step took me to complete. Do the math, these type of projects take a big chunk of any calligraphers' time. So, to any client reading this, calligraphers have to charge the way they charge because it is really a product of labour. Countless hours of planning, trial and error, mistakes, etc. go into ensuring your visions come true. As for calligraphers, DIY-ers, or anyone that wants to attempt this, I hope this post helps/inspires you to successfully complete your mirror seating chart. It is definitely rewarding to complete such a large scale project like this. And when you do, please pat yourself on the back, you should be proud! If you have any comments or questions, please leave them down below! I will be glad to address them.
For those of you who want to get in touch to have a seating chart done, feel free to fill in the form below. I'll be glad to help you out and make your visions come true!
Otherwise, all the best to y'all beautiful peeps! As always, LOL (lots of love)!